In December, a special friend and colleague, J., lost her father. Over the holidays, I had made a quilted pillow, that I describe here, from scraps I had in my Sacred Sewing Space. When I gave her the pillow, she told me that she had been thinking of asking me if I would do a commission, taking some of the shirts from her father’s extensive wardrobe to make a special memory quilt that would bring comfort to her mother.
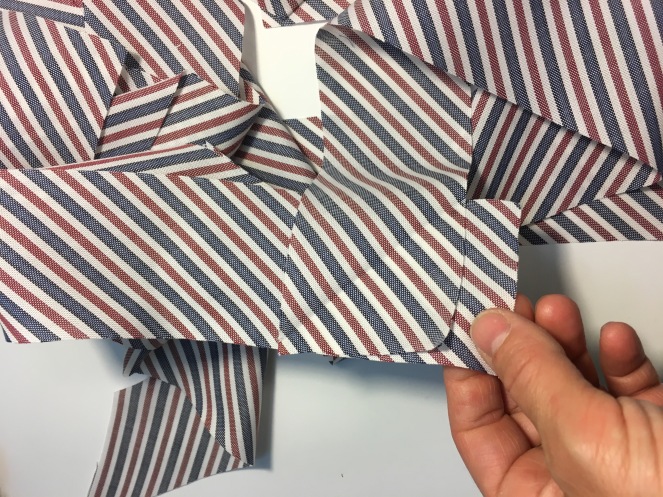
I was definitely motivated to make this project happen! J. and her mother, Mrs. D. set to choosing some shirts to get the project rolling. She told me that finding the right shirts was very therapeutic for her and her mother. They had special memories associated with different ones, and told jokes and stories to each other about each shirt and how they remembered him wearing them. They cried and held each other, and healed a little more. The collection of shirts included some logos which would be incorporated into the quilt’s design as well. I decided to leave pockets intact to add a little more personality to the project.
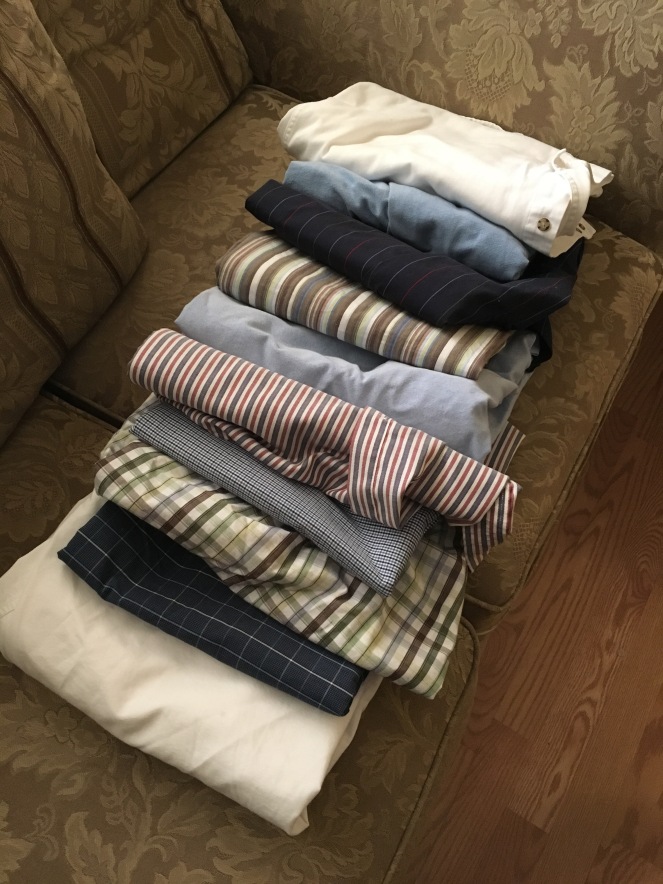
The first wave of shirts, folded and waiting for the rest of their quiltmates
J. and I agreed that I should meet with her mother, in their home, to get a good feel for her aesthetic, to check if there were any other shirts that could be added into the selection, and most importantly, to feel the love in their home and connect with her, to make the quilt-making process and final product as personal and meaningful as possible.
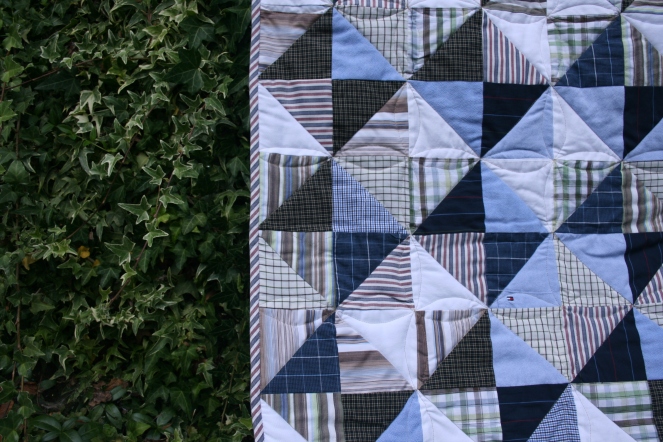
I came prepared with a Pinterest selection of options, and Mrs. D. liked a simple, classic half-square triangle design that incorporated hourglass blocks. We went through Mr. D’s closet and found a couple more awesome shirts, and agreed on a size for the quilt. The visit was pleasant and productive, and I felt connected to this family in a new way. A cup of tea and a lemon square later, we decided that I would come back to discuss backing fabrics and quilting options once the top was complete. I had two major projects on the go, and let the family know that I wouldn’t be able to get started for some time.
As soon as I got home, I took pictures of the precious shirts, and within days, I had cut the shirts into yardage and had thought through how to balance the values, and made up a design that would make the fabrics pop.

Despite my other goals, I just couldn’t help but get started cutting within the week.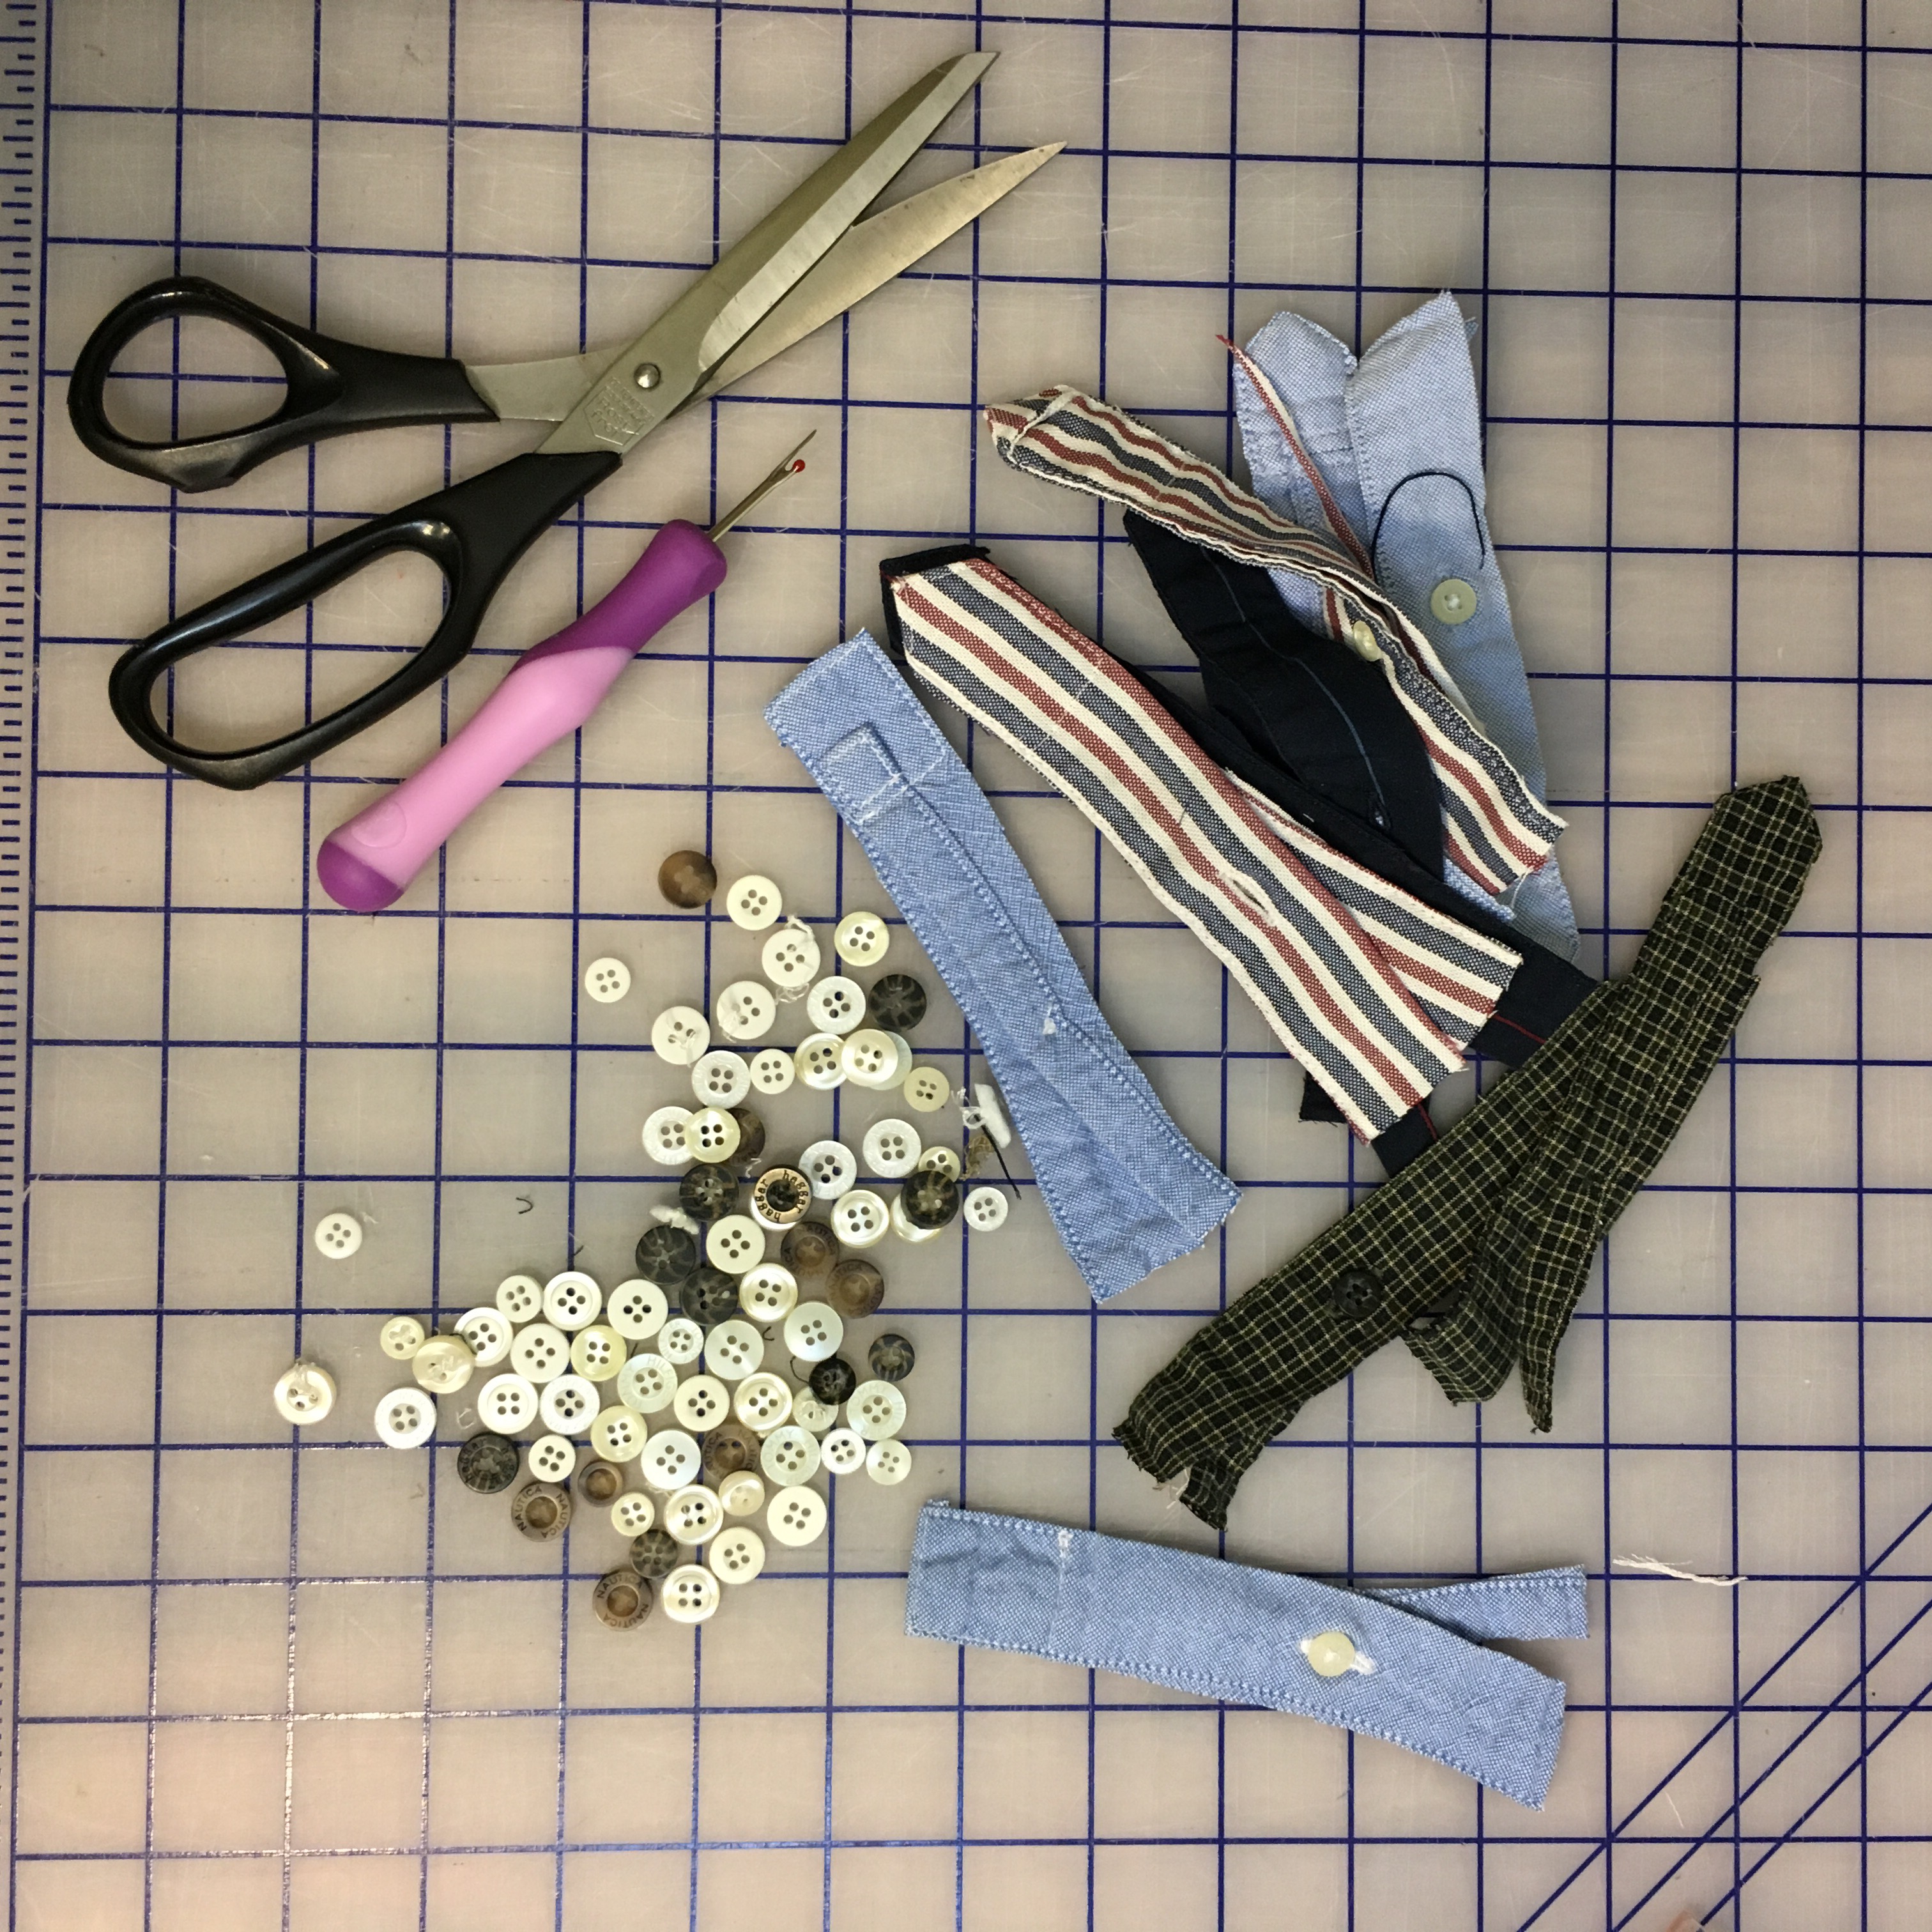

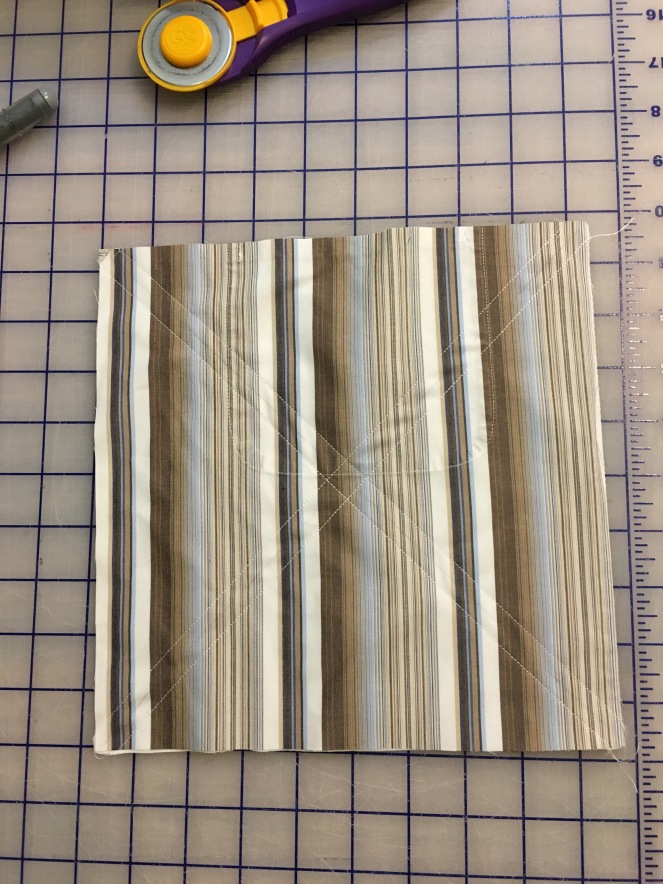
I used one of my favourite techniques to make the HST’s, that allows 8 to be made at once.
 Using my plan, I calculated how many of each combination I would need (dark and medium, light and medium and paired off 9.5″ squares. Over a couple of weeks, I used these blocks as a sweet change of scenery, akin to a leaders and enders project. Starting my sewing with 1-2 HST blocks and often finishing my night the same way helped me to move forward on my stale projects.
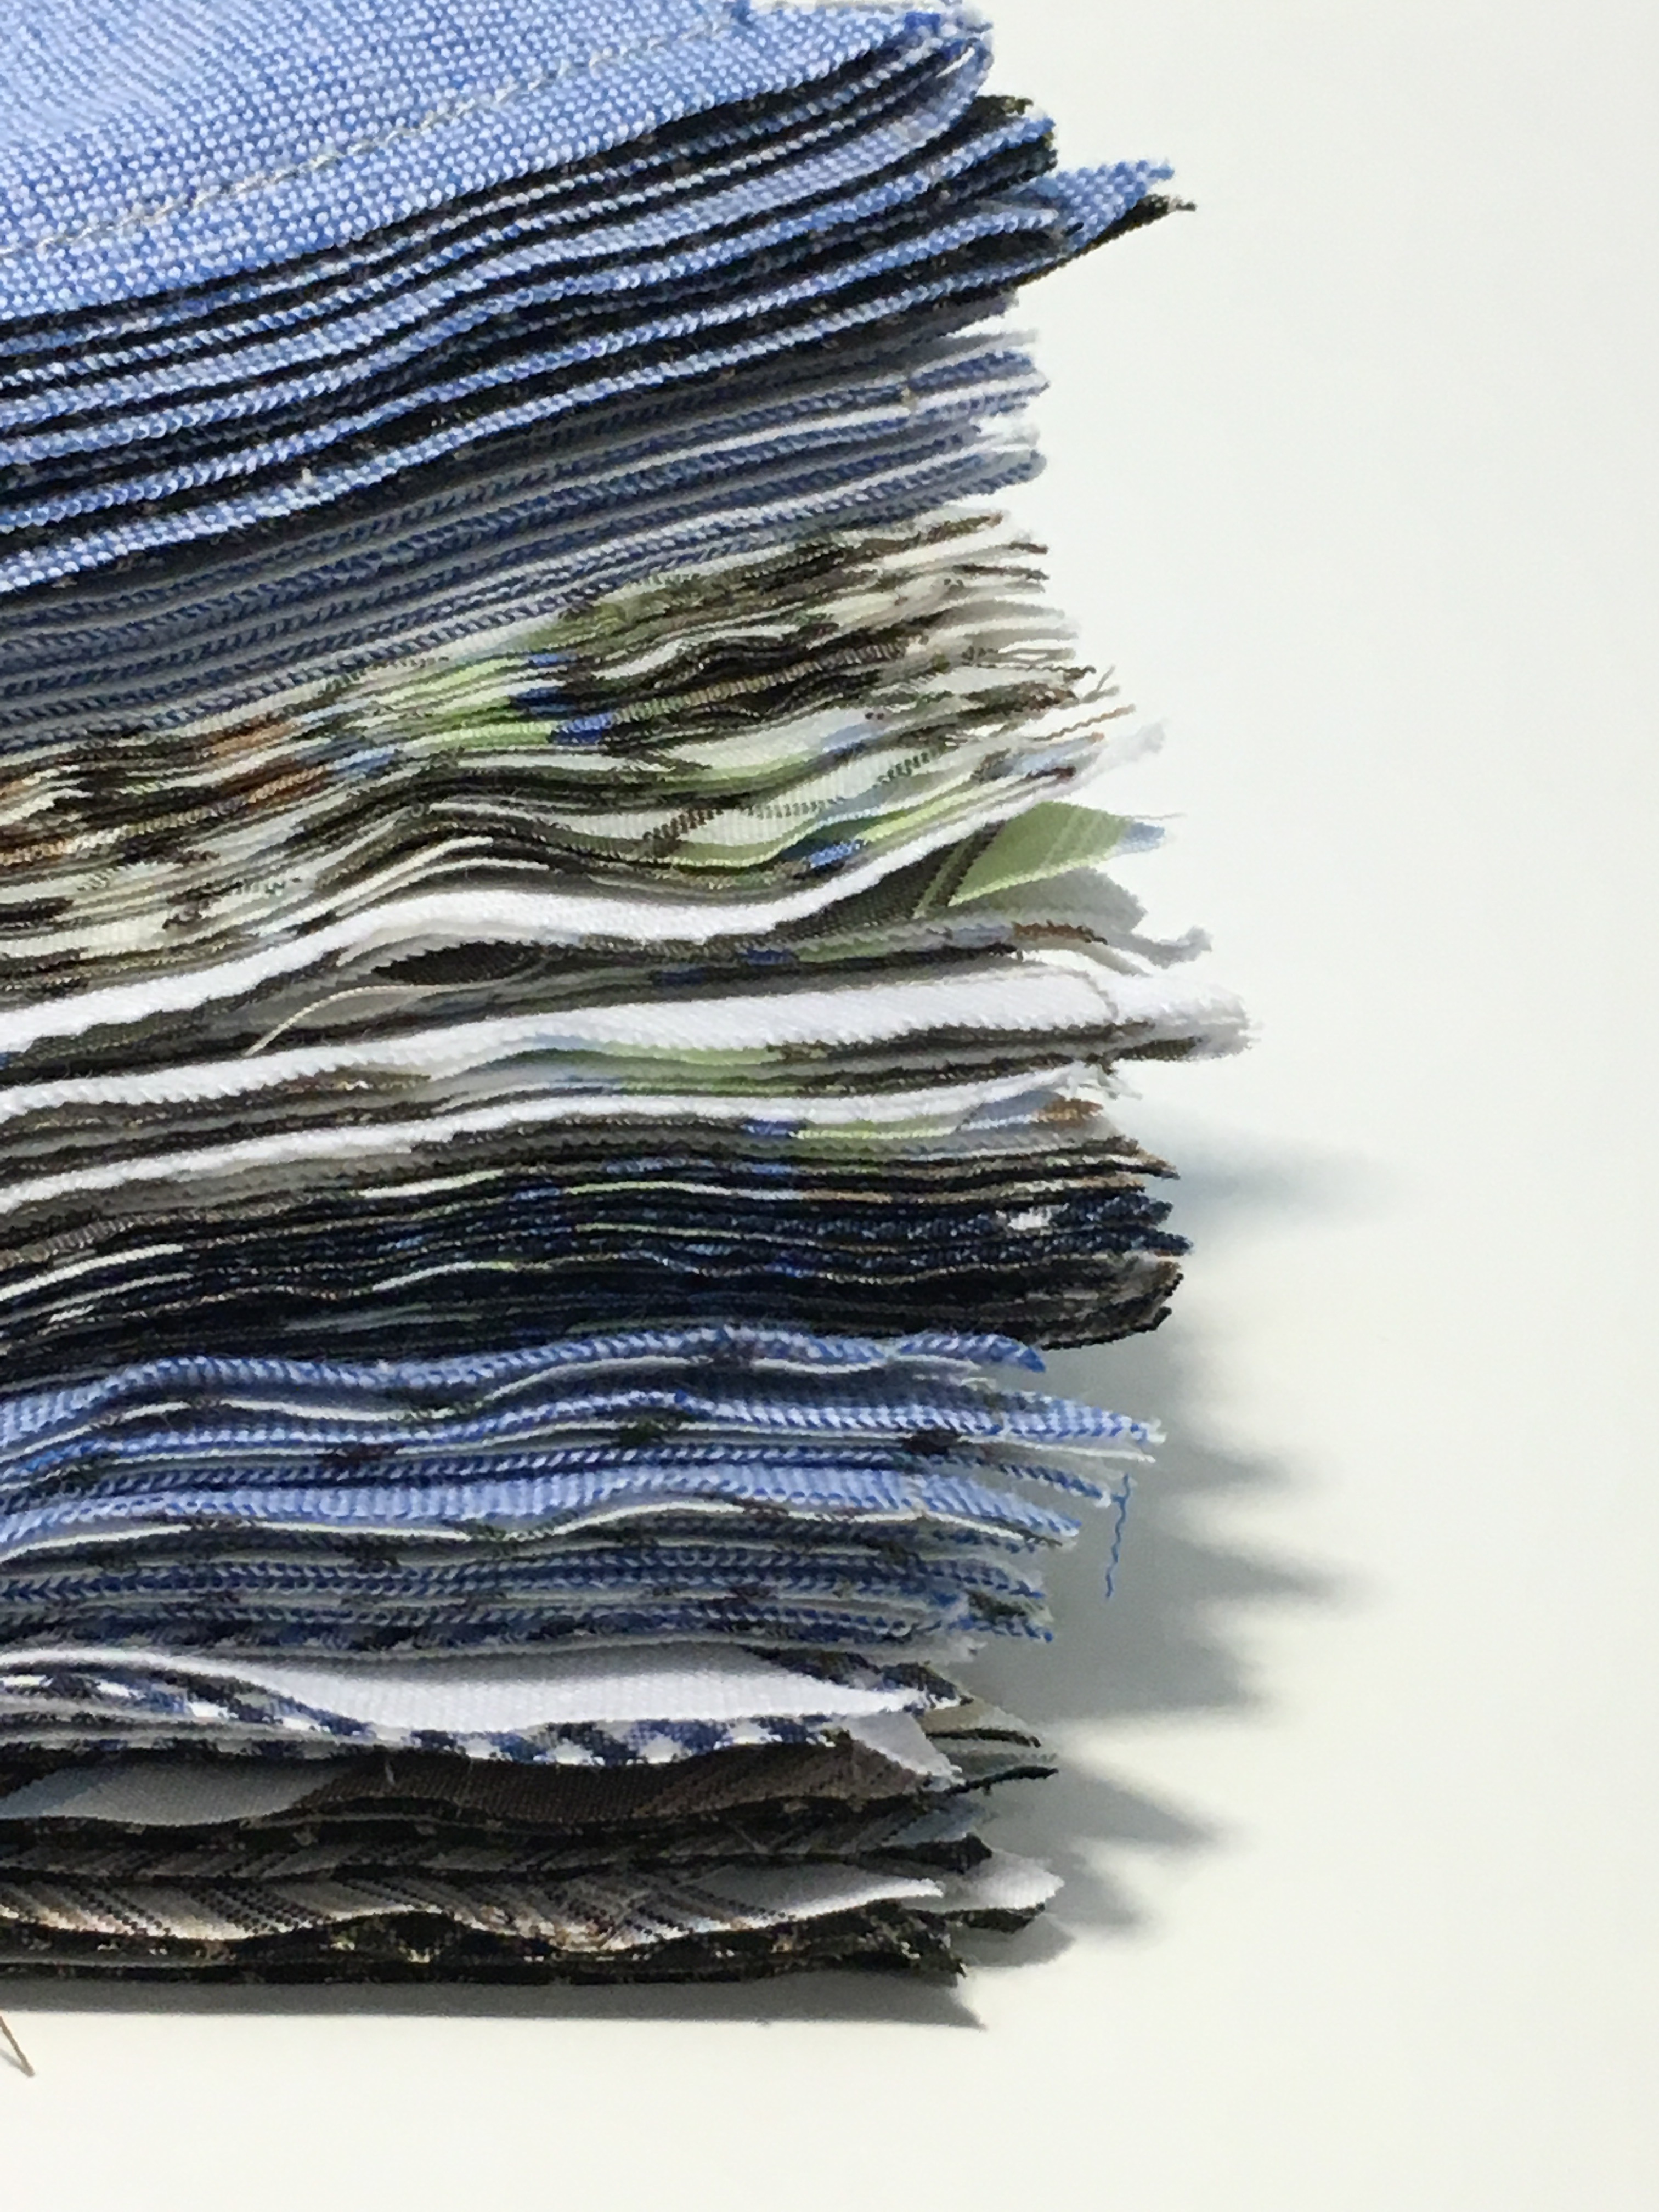
Once all the HST’s were made, I trimmed them. I guess this step might have been unnecessary, but, I tend towards the overzealous sometimes. The stacks of unpressed squares were so pretty to me. 
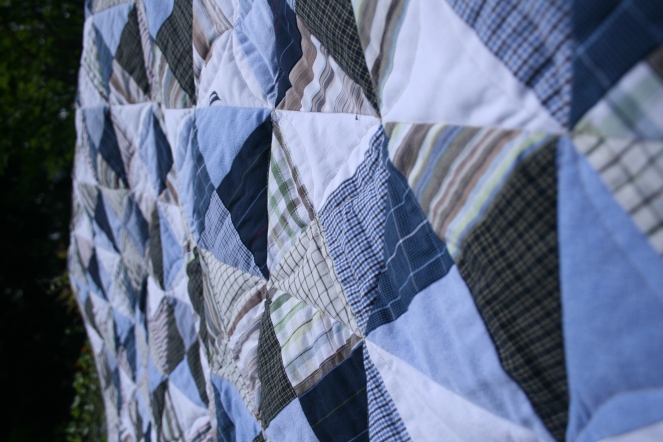
 My next step was to lay them out on the design wall and form 2×2 blocks that would be assembled into columns, later rows. I was very satisfied with how the partially planned yet scrappy finish turned out.
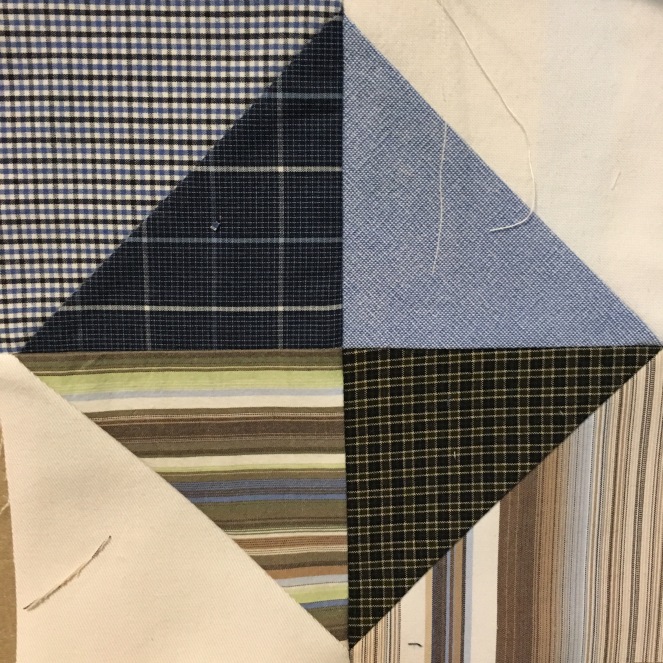


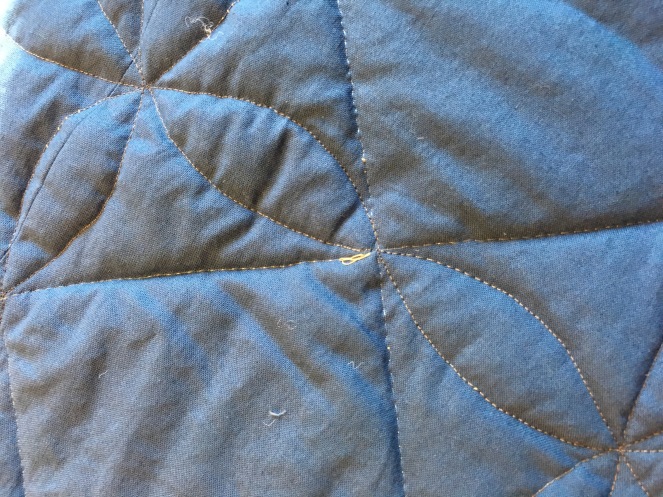
In terms of backing, she wanted a solid, to keep everything simple. We decided on a midtone for maximum hiding of any possible stains, as she intended to use the quilt daily.
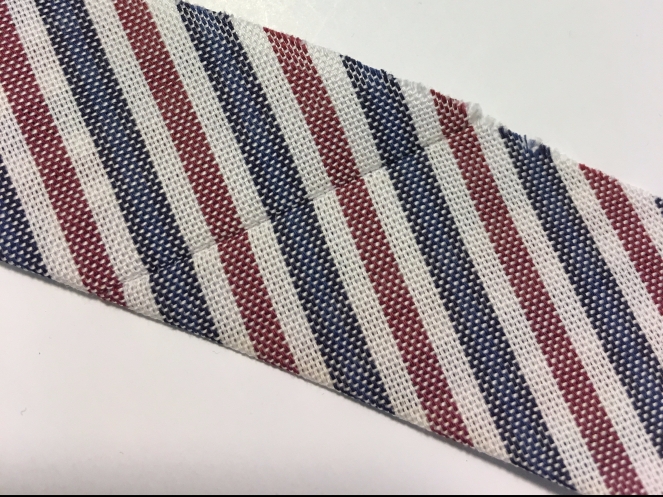
When we discussed binding, I had a secret penchant. I was hoping she would like the red and blue striped fabric as an option, and was thrilled that she chose it. It was a bit flashy but the shirt was her favourite of the lot so it was an easy sell for her.

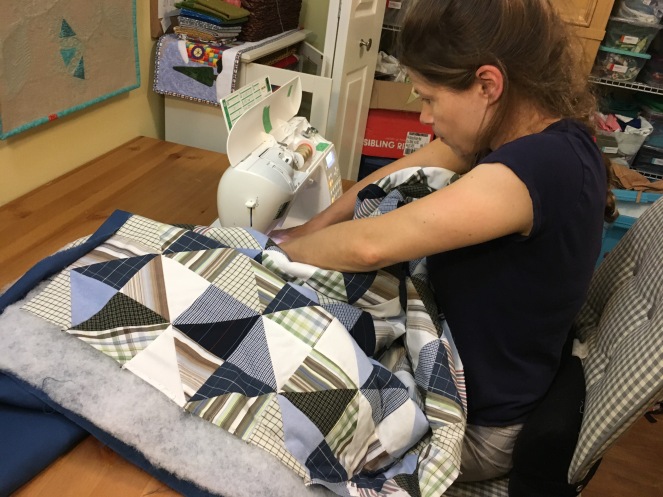 This was fairly easy to quilt, but I was disappointed with how my machine handles poly thread in the bobbin. At every point where I stopped sewing, a little gob of thread built up.
Then on to binding, My favourite part! I used glue basting a la Christy Fincher to make some really well-aligned diagonal bias strips
 and copied the wise instructions of her mother, Sharon Schamber, in her fantastic tutorial HERE.
 I used a strategy taught by our Niagara Modern Quilt member, Tori Buggeln. She blew my mind when she showed us how we can machine finish a binding, and have it look amazing! Using: GLUE BASTING!!! Sturdier and a time-saver all in one!
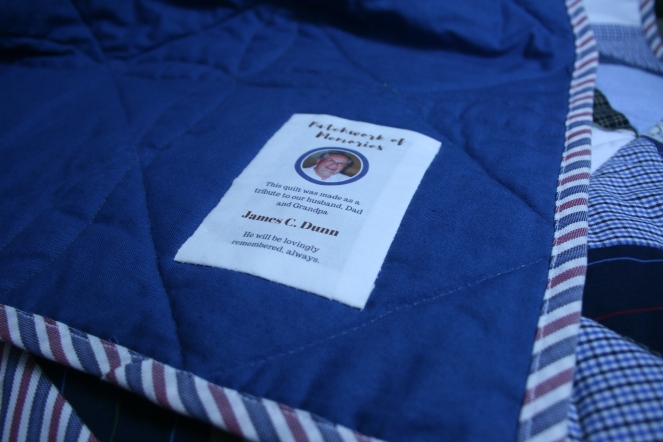
I had everything ready, except for the label. J. had discussed an idea of what she wanted on the label, but I thought that it would be nice to throw in a picture as well. I printed off the label, and brought it in to work on Monday, to get a thumbs up on the design.
 When I got to work, my desk buddy shared some very sad news. Mrs. D. had passed away on the night that the label was being printed. I was so sad she would not get to see the finished quilt and cuddle under it, but it was comforting to think that she is getting the best kind of cuddles she could ever get now that she is reunited with her beloved Mr. D.
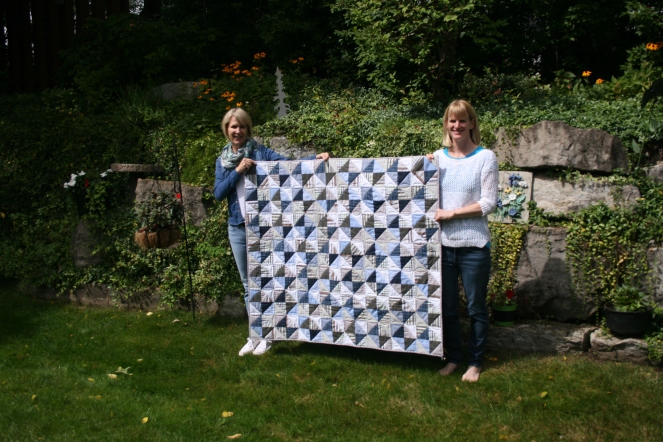
I returned home and quickly stitched the label in its place, and passed the quilt on to J. through a friend. I felt blessed that this special quilt, a Patchwork of Memories, was displayed at Mrs. D’s memorial service alongside a painting of the special place where she and Mr. D used to meet. The quilt now belongs to my dear friend, and will find a cozy spot in her home to bring her comfort when she needs a hug from her dad.
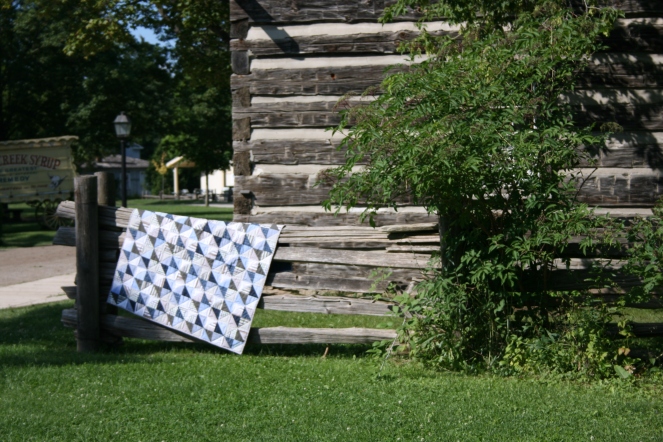
I came back to Mrs. D’s home to take a few pictures of the quilt in its place of origin.
On the day that I took these pictures, two loving sisters were packing away precious memories and working their way through their grief, step by step, together. I took pictures in a special place where Mr. and Mrs. D. spent their time together, weeding and making pretty flowers grow.
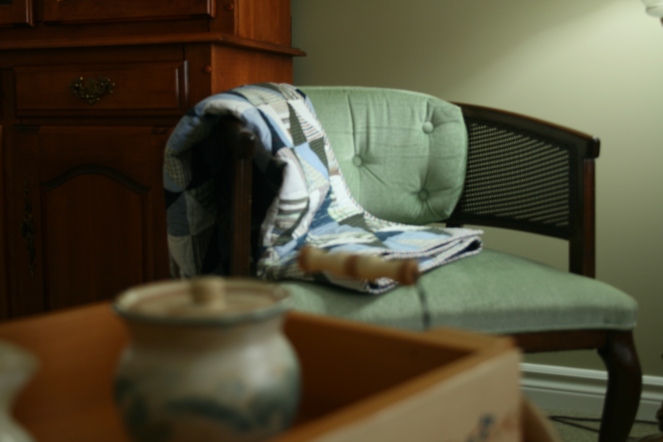
 The rustic tea service that was used whenever guests came, and the chairs where we sat to discuss the finishing of the quilt became a backdrop for part of this photo shoot.
I have never made a more meaningful quilt in my life, and am so grateful for the healing value it offers to this lovely family. Stay tuned for part deux: I will be creating a matching one, for J’s sister, with an added detail: some fabric from her Mom’s shirt will be included.

Oh, what a treasure. I was so shocked and sad to read that Mrs. D passed away, too. What amazing treasures you are making for J and her sister.
LikeLike